How to Build a Simple Magnet Motor
Building a basic magnet motor engine is easy. With the principles behind electric current and magnetic fields, we’ve looked for the facts on how to make an electric magnet motor most effectively.
1. Winding the Coil
Tape collectively four pencils. Tape the pencils in a by using the cluster. This will provide you with something stable to wrap your coil around. You could alternate the pencils for a cylinder that’s kind of half of an inch in diameter.
Wrap cord across the pencils. Once you have got the pencils taped or find an appropriate cylinder, begin wrapping your twine around it tightly, begin in the center of the cord and wrap the coil fifteen instances towards one give up and fifteen times toward the other. Once you’ve got finished wrapping the coil, cast off the pencils from the middle. This could go away with you with loose leads at both give up of the coil.
Loop the unfastened ends around the coil. Wrap the loose ends around either side of the coil 3 or 4 times. This can assist maintain the coil wound tightly, and point the ultimate unfastened ends immediately out away from the coil.
2. Connecting the Battery
Relaxed the battery. Use tape or clay to preserve the battery in the region on a flat surface like a tabletop or table. This could permit you to join it to the coil while not having to preserve it with your fingers. Ensure the battery is laying on its side so you can easily reach each terminal.
Strip the ends of the coil cord. Use cord strippers to dispose of the insulation on either stop of the twine. Those leads will hook up with the battery and permit cutting-edge to flow thru the coil. For the exceptional results, you could sand the ends of the leads as nicely. This can cast off any film or protectant that may be implemented to the twine.
Slide each ceases through the attention of a needle. A needle makes the best holder for the cord leads. Insert each gives up into the attention of a separate needle. you can additionally bend two paper clips (one for every facet) to make a holder.
Tape the needles to the battery terminals. Once you have the wire in both needles, it’s time to hook your wire up to the battery. Tape one needle to the positive side of the battery (marked with a “+”). Tape the other needle to the negative side of the battery (marked with a “-”).
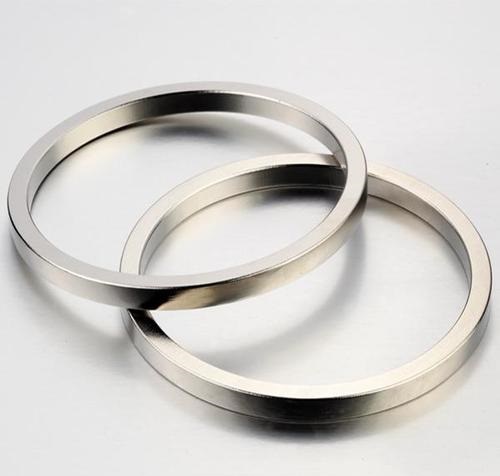
3. Placing the Magnet
Deliver a neodymium ring magnet close to the coil. As soon as a cutting-edge is flowing via the coil, it could have interaction with a magnet. Either keep the magnet close to the coil or tape it to the battery right under the coil. The nearer the neodymium magnet is to the coil the more potent it’ll interact.
Spin the coil. See what happens whilst you spin the coil. Depending on the course the contemporary is flowing and the facet of the magnet this is interacting with the coil, the coil might also maintain to spin or won’t. If the coil does now not preserve spinning, try spinning the alternative path.
Experiment with special methods. Distinct versions will provide you with special effects. The coil can also spin faster, slower, or under no circumstances, if you alternate something. Attempt shifting the magnet in the direction of or further from the coil, select a more potent or weaker magnet, or use the other aspect of the magnet. These variations are a fun way to understand the forces in a magnet rotor.
For more information, please visit https://www.stanfordmagnets.com/